Add or Remove Resources via Plan Upgrade or Downgrade
This article will show you how to upgrade or downgrade your hosting plan to add or remover remove resources.
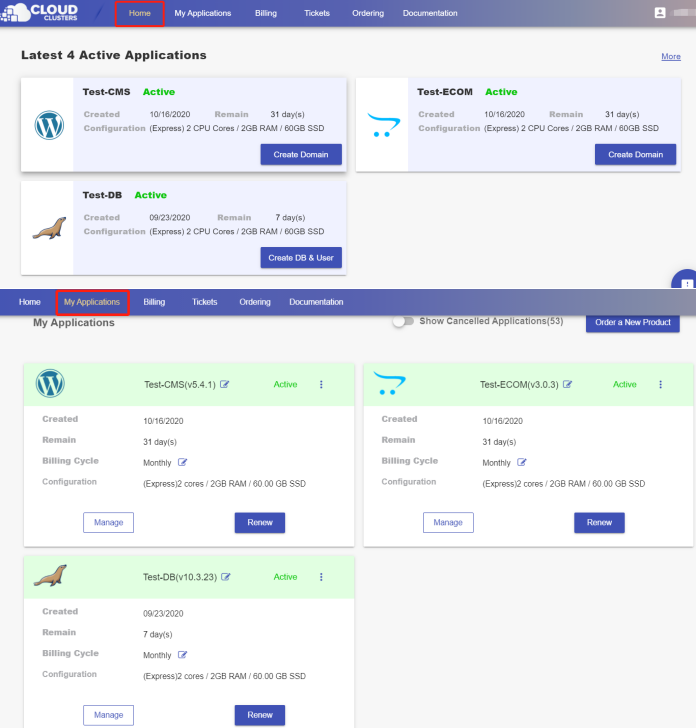
1. Locate the target application
Log in to the Control Panel and locate your target deployment on the Home page or the My Applications page.
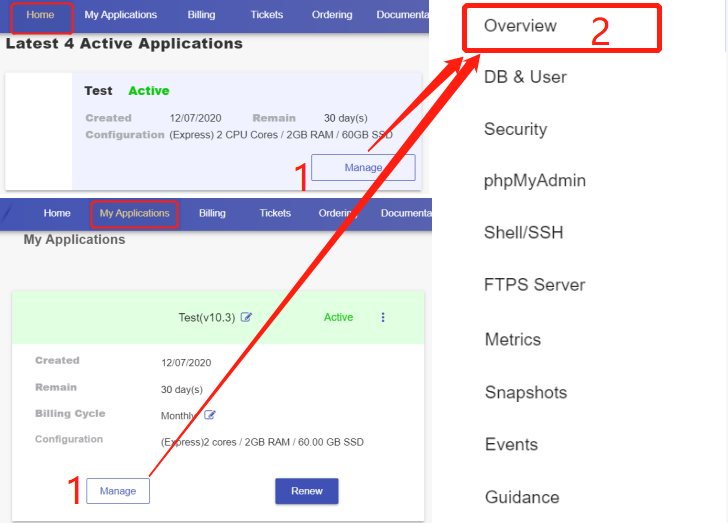
2. Go to the Overview page
Click the "Manage" button on the Home page or the My Applications page to go to the Overview page.
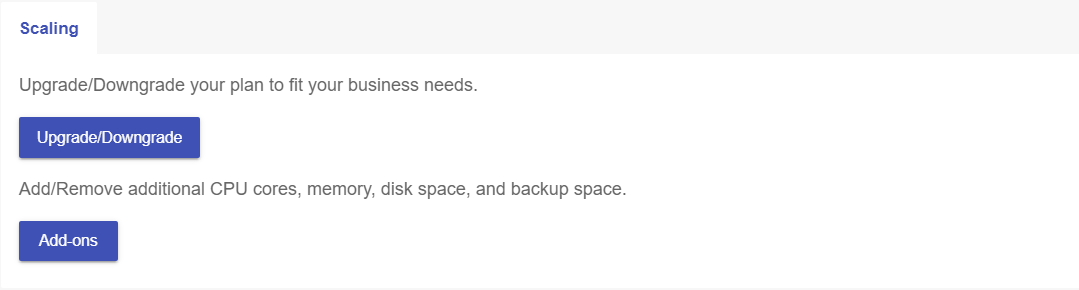
3. Upgrade/Downgrade your plan
Then scroll down to the "Scaling" section. You will see the Upgrade/Downgrade button.
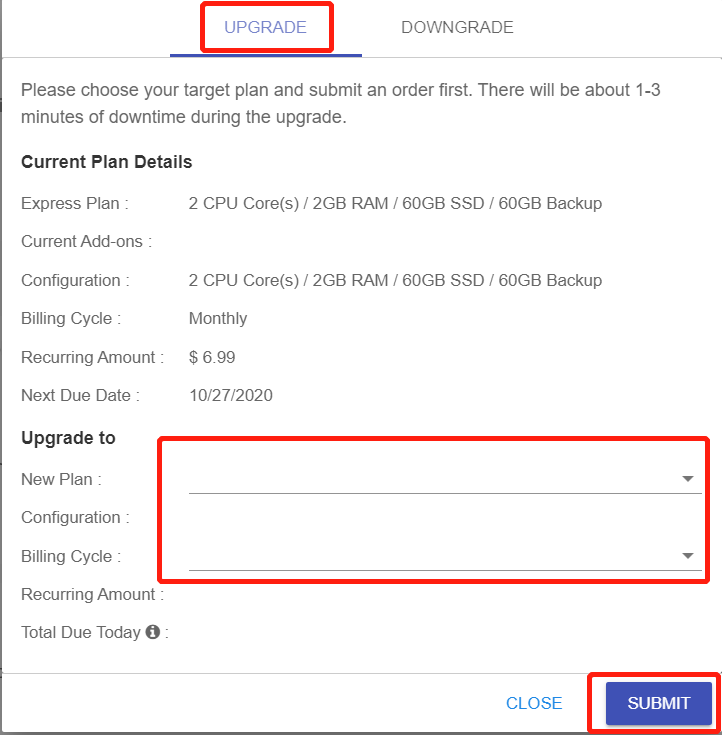
- Click the Upgrade/Downgrade button and select the upgrade or the downgrade page as per your needs at the top of the pop-up box.
- Choose the target plan and billing cycle. Then confirm the recurring amount.
- Submit your request.
Note: No price differential is needed when your application is in the free trial period. Otherwise, the price differential will be charged or refunded. The upgrade/downgrade process will start automatically once the order is submitted.
There typically will be 1-3 minutes downtime during the upgrading/downgrading process.
If you need further help, feel free to contact support@cloudclusters.io